Friday, 26 September 2014

A Sunday Afternoon in Brest

Arriving just in time for the marché in Brest.  The march is located at the Rue de Siam, just a few minutes walk from the Château.

Walking towards Rue de Siam from Château.

The marché is the highlight of Brest in Sunday.  After the close of the marché, the city center will become very quiet until the night fall.

It is around 1.30 pm when i reached there, about half an hour more to closing.  Most of the stall owner are packing up, with mainly the food seller still trying to clear their stock.  The food and fruits are cheaper then those sell in the supermarket, specially Carrefour City.


The melon and strawberry are very sweet and fresh.  Brought a box of strawberry, then get half a roast chicken with some baked potato for lunch.  The left over still enough for my dinner.
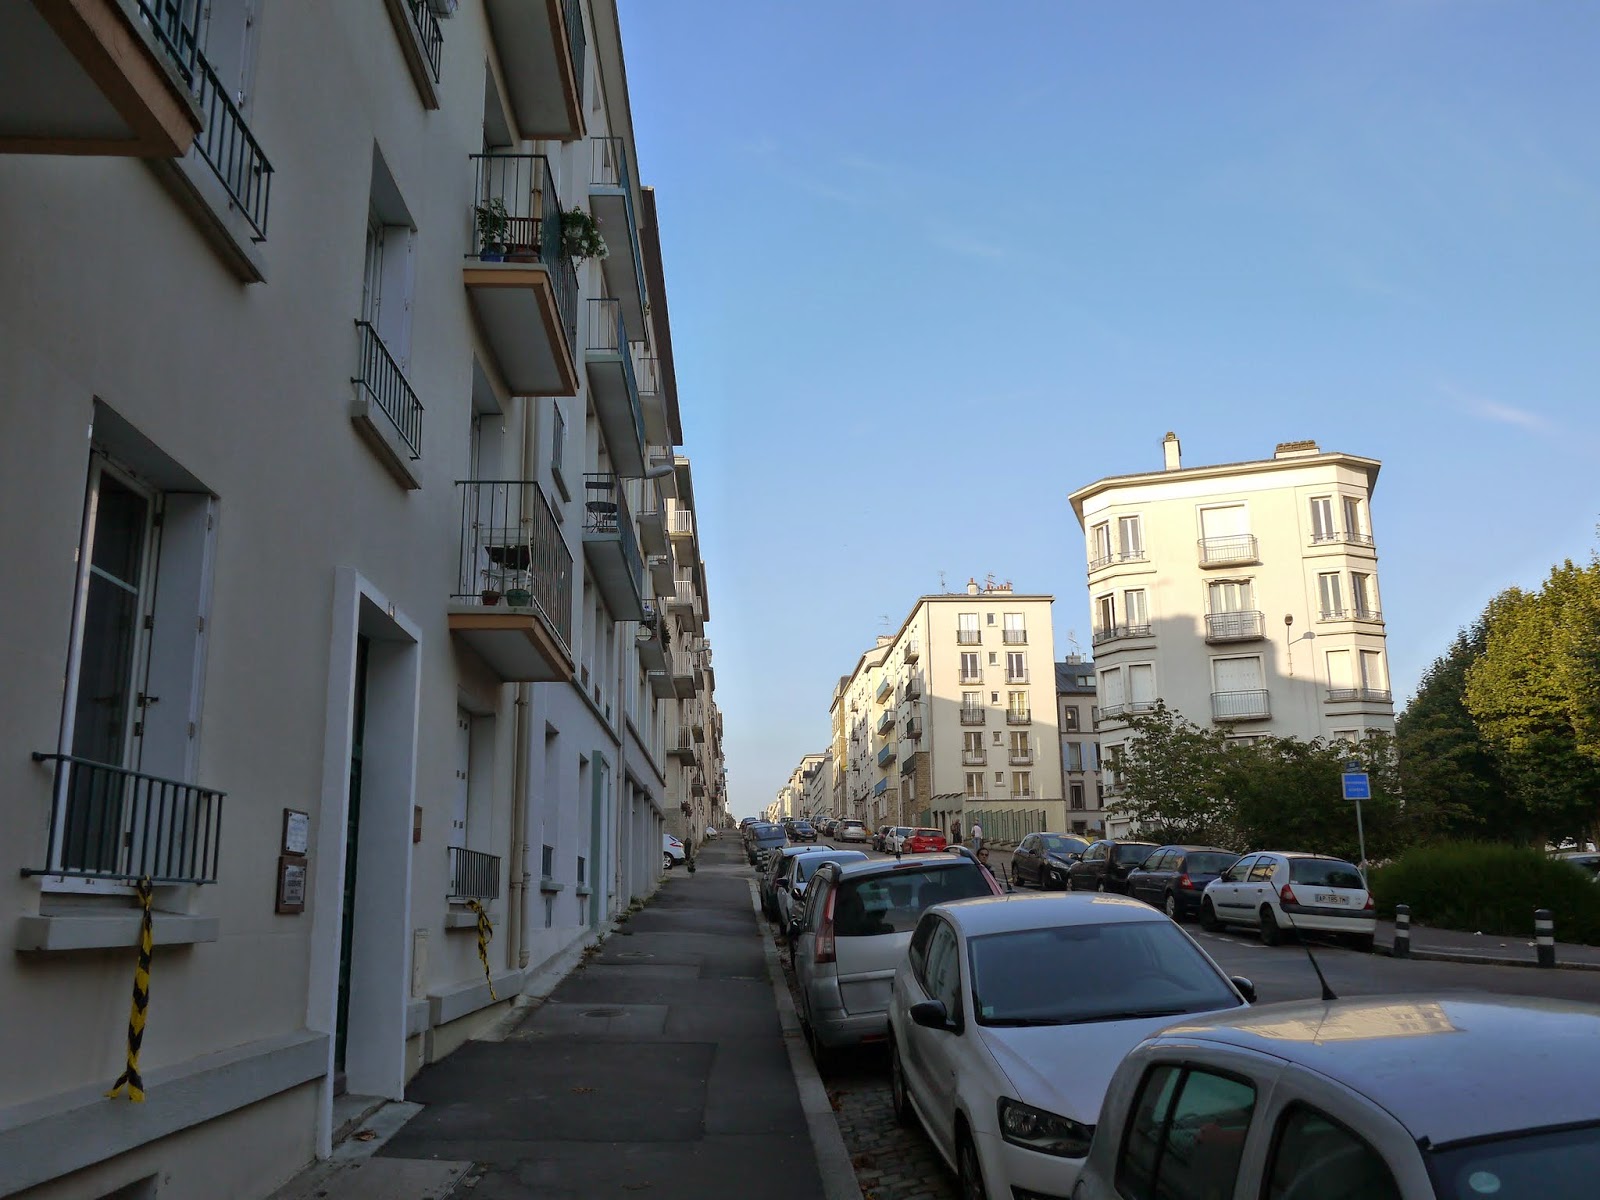

Quiet and Peaceful.


The late afternoon till evening is very quiet and peaceful.  Only regularly hear the arrival of tram at the station.  A good time to have a nap for the rest of the day.


Friday, 20 June 2014

Nikoi Island 2014

Finally fulfilled the dream of having a short holiday in Nikoi Island after a long 3 months of waiting.   The island is always fully occupied with guests from all around the world.  For those first timer, like me, or those only heard and wish to go, there are lot of information about the island.  However, there is very limited information on the details of reaching the island.

Here are my story of a smooth journey to and back from Nikoi Island.


From Singapore to Nikoi Island

The following are the summary steps of the journey.

1.  Advance booking of room (hut) in Nikoi Island. Upon success booking the staff will contact you through email.
     http://www.nikoi.com/
2.  Book a ferry ticket from Singapore (Tanah Merah Ferry Terminal) to Bintan (Bandar BentanTelani)
     http://booking.brf.com.sg/
3.  Send the ferry details to the staff from Nikoi Island.  They will arrange the rest for you.
4.  On the day, just take the ferry to Bintan, there will be staff from Nikoi Island welcoming you once you alight from the ferry.
5.  They will then help you to clear the custom, collect your bags and drive you to the next ferry point.  The drive takes about an hour, a long and scenic journey.
6.  At next ferry point, board the speed boat and in about 20 minutes you will be there.


Check-In for ferry to Bintan.

Check-In to custom.

Waiting inside the Emerald Class lounge for the ferry.

Inside the ferry to Bintan.

Waiting in the lounge at Bintan for transfer to Nikoi Island. 

Inside the MPV to the ferry jetty to Nikoi Island.

Ferry jetty to Nikoi Island.

Speed boat to Nikoi Island.

On the way to Nikoi Island.
The clear blue sea near Nikoi Island.

Jetty at Nikoi Island.

Check-In at Nikoi Island.

Huts for guests and bars.

Fire place for night.

Things To Do

There are only three things for adults to do there; EAT, SLEEP and RELAX.

For the kids, No TV, No computer, No iPad (unless you taking one there).  There only beach, sea and the Kids Club.  The staff will entertain the kids and Yogi will craft lot of toys for them.  It is a rare chance for the kids to get out from all the electronics and back to the nature.

Get ready for Jetty Jump. ** Very Scary **

Jetty Jump. ** Woo.. Wonderful. **

Playing at the tumbling. 

Nature hunt. * Turtle Nest *

Looking out for birds, Monitor Lizard and ... 

Sleep on the swing.

Sail round the island.


There are much more fun and things to do on the island... The imagination rules...


Rest is for you to explore about the island.  It is a heaven easily reached within hours from Singapore. Now work hard and save hard for my next trip.


Saturday, 1 February 2014

BC 135 DIY Camera

This is my second DIY Camera, it is a 35 mm film toy camera where easily buy from online at around US$15.  First look at the packaging... it does met what i have paid, simple and nothing to complain about.


Inside the box, it contains the following items:

1.  Camera body.
2.  3 plastic packs contain the internal parts.
3.  1 plastic pack contains the screws and the springs.  (Do not lost any spring, no spare provided)
4.  An assembly manual.

As usual, a pincer is a must to assemble the spring.

Step 01:  Disassemble the Camera Body


The camera body contains 4 parts as shown above.  Disassemble the parts carefully, as the plastic is quite brittle.

Step 02:  Assemble Internal Mechanism


Follow the instruction, get P5 put into the body A1, then using the pincer to assemble the spring S37.


Assemble in A26, P6 and P7 accordingly.


Assemble as instructed, only thing to note is that spring S36 comes out easily.


Follow the instructions and fix the assembly into the back of the body.  At this point, the operation of how the camera taking its shot.  Play around with it and will appreciate the simplicity of the mechanism.


Rest of the jobs come easy.  Just fix in the front cover and screw up the camera.


Comments

Overall the camera is very easy to assemble.  But due to the poor quality of the plastic, some of the securing part will break off easily.  Standby a sticky tap to hold them together.

The instruction manual is very written,, where one can easily following the steps to complete the assembly.

If you have US$15 to spare then get one to spend an hour and a very good teaching aid for basic understanding of how a camera works.

Sunday, 19 January 2014

Day 06: Odaiba Tokyo, Gundam Front Tokyo

Odaiba (お台場) is the new hangout area in Tokyo.  Many big shopping malls and open spaces, but the transportation to there is slightly higher compare to the tradition hangout in Tokyo.  There are only two train line Yurikamome (ゆりかもめ) and Rinkai Line (りんかい線).  Both lines do not accept JR Rail Pass.


As i am staying at Hilton Tokyo Bay Hotel, it is very convenience to take a train from JR Maihama station then transfer at Shin-Kiba to Rinkai Line.  We alight at Tokyo Teleport Station from Rinkai Line.  The whole journey took us about 30 minutes.

Gate at Tokyo Teleport Station

Exit B to Diver City

Directory Information 
Tokyo Teleport Station Map

Diver City Tokyo Plaza

The nearest exit to Diver City is Exit B.  From there we took a 5 minutes walk from the station to the plaza.  Proceed all the way from the entrance to the food court, then exit from the food court and you will see the Gundam.


Fantastic to see the Gundam of the actual size.  There are two light shows at 7 pm and 8..30 pm, hope i remember the timing correctly.  The light show should not be missed, especially for Gundam's fan.

Gundam Front Tokyo

The Gundam Front Tokyo is located at the level 7, take the escalator to Bowling alley at level 6 then up a level to the exhibit.


The models are exclusive and can only find in here.  However, personally find the entrance fees is a bit on the high side.

The flagship stores and the Gundam Cafe are much more interesting than the exhibit hall.

Rest of the shops in the Diver City are same as other places.  But still allow us to spend half a day in the plaza.


Aqua City


From Diver City, take another 5 minutes walk we are at the Aqua City.  From the side of the mall, there is a mini-statue of liberty at the park.

There is a big toy]r us inside the mall, where we spend the other second half of the day.

Too bad, after visiting Diver City and Aqua City, we are running out of time to visit the Toyota MegaWeb.  This will have to leave it for the next trip.